I recently closed on a home here in South Pasadena with a great and conscientious client who carefully inspected the property prior to purchase. One of the professionals involved was a termite inspector. The inspector found evidence of active termites around the home. My client considered the options for addressing the termites and opted to tent the house prior to move in. This is pretty typical and makes sense – the home is completely empty and the tenting takes about 3-4 days to complete. You can see a time lapse video of the process on my Instagram feed here: https://www.instagram.com/p/CEH7tRSjcQc/.
Here is a brief explanation of what tenting your home for termites entails and what it looks like. Fair warning – I’m not a tenting professional – I’m a realtor. So everything I’m documenting below was based on spending the day observing the professionals. If you want to get details on tenting your home – you should seek out licensed professionals who do this for a living.
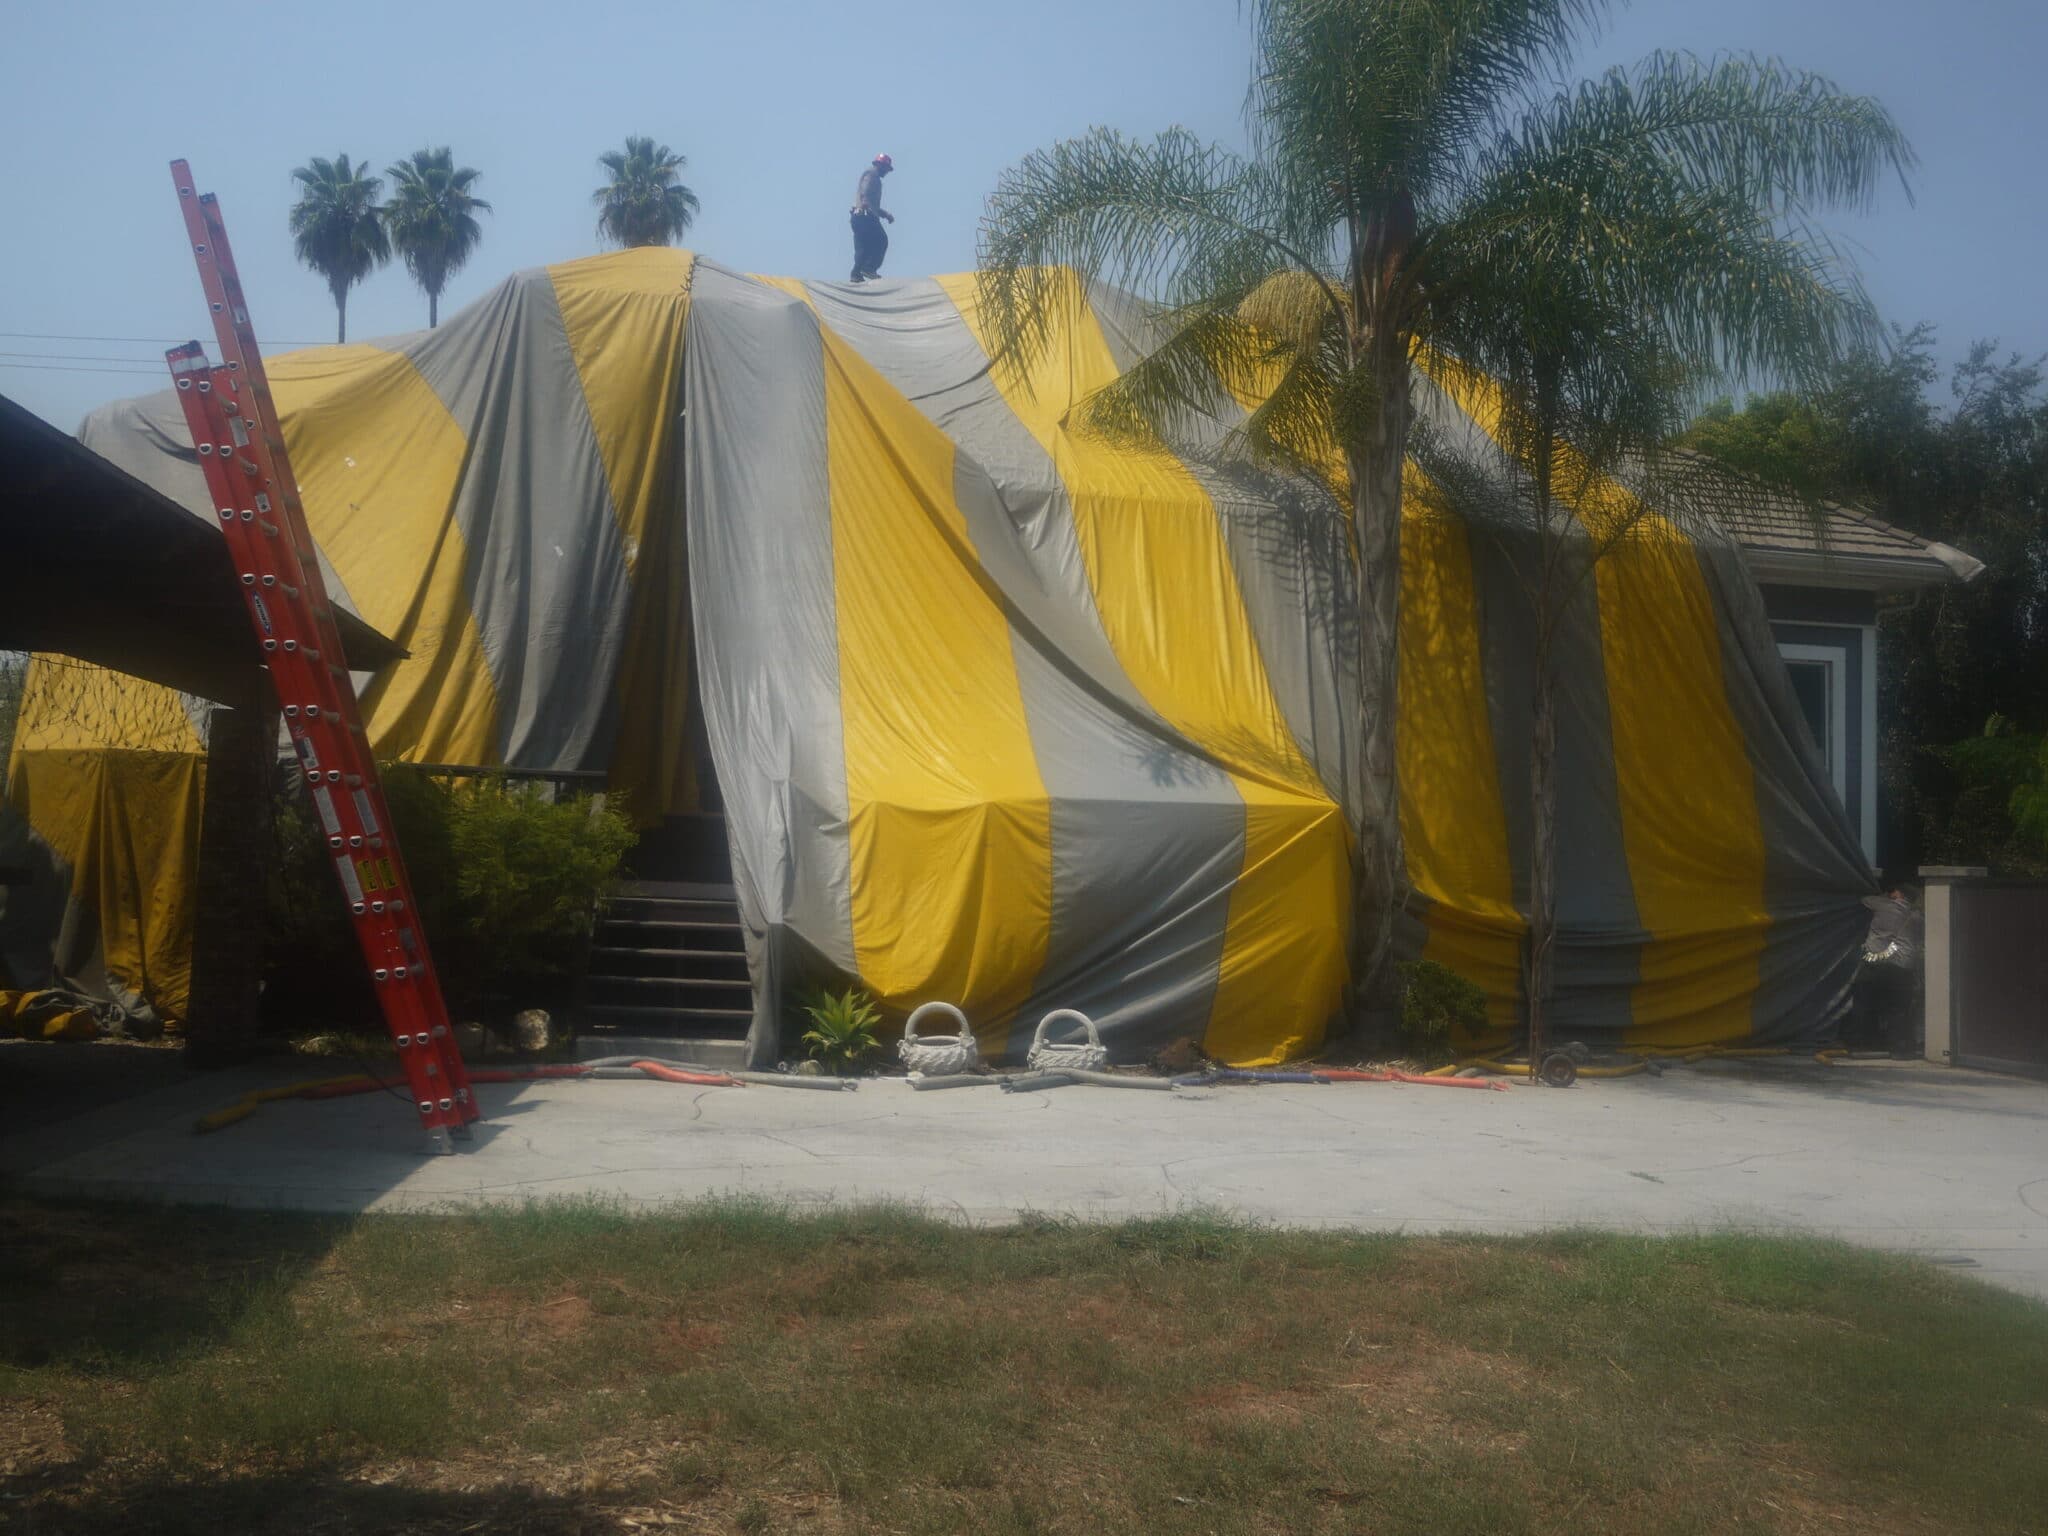
Tenting your home for termites is pretty much what is sounds like – a crew comes out to the property and proceeds to completely cover the home in heavy impermeable plastic sheeting (the tent). Usually this covering is brightly colored to draw attention to the fact that there is a hazard underneath. Once all the prep work is done – a poisonous gas is pumped into the tent and left for a period to kill anything inside. The home is then uncovered and aired out.
Preparation for Tenting
In order to understand the process completely I arrived early yesterday at the home that I just sold to observe the tenting process firsthand. Here are a few things that I didn’t know about tenting until I watched and oversaw the process for my client.
* The gas line coming into the home must be shut off prior to tenting.
* The air conditioning and heating system and fan must be shut off.
* The area immediately adjacent to the outside of the home must be cleared and leveled a bit prior to tenting. The crew did this with shovels. This is to get a uniform surface for the tent to be sealed up at the bottom.
* Inside the home – all of the drawers and cabinet doors need to be opened up. I walked through the kitchen with the contractor and pulled out every drawer and opened up all the cabinets. It takes longer than you think.
* The windows all need to be opened to let the gas in and circulate.
* The foreman also walked around the entire property and put up numerous warning signs directly on the house to alert people that there was poison in use.
Getting the Tent On the House
Next the ladders come out. Since the house they were tenting was pretty high – these were big ladders. The crew hops on the roof and places carpet remnants on any sharp edges or corners. For safety they have a series of ropes that transverse the roof and helps steady them on the incline. I saw later that the carpet enables the tent covering to move (relatively) smoothly when they are positioning the tent on the house.
They also put tape around anything sharp or at least not smooth. Additionally – the crew taped up the exhaust pipes leading up from the roof.
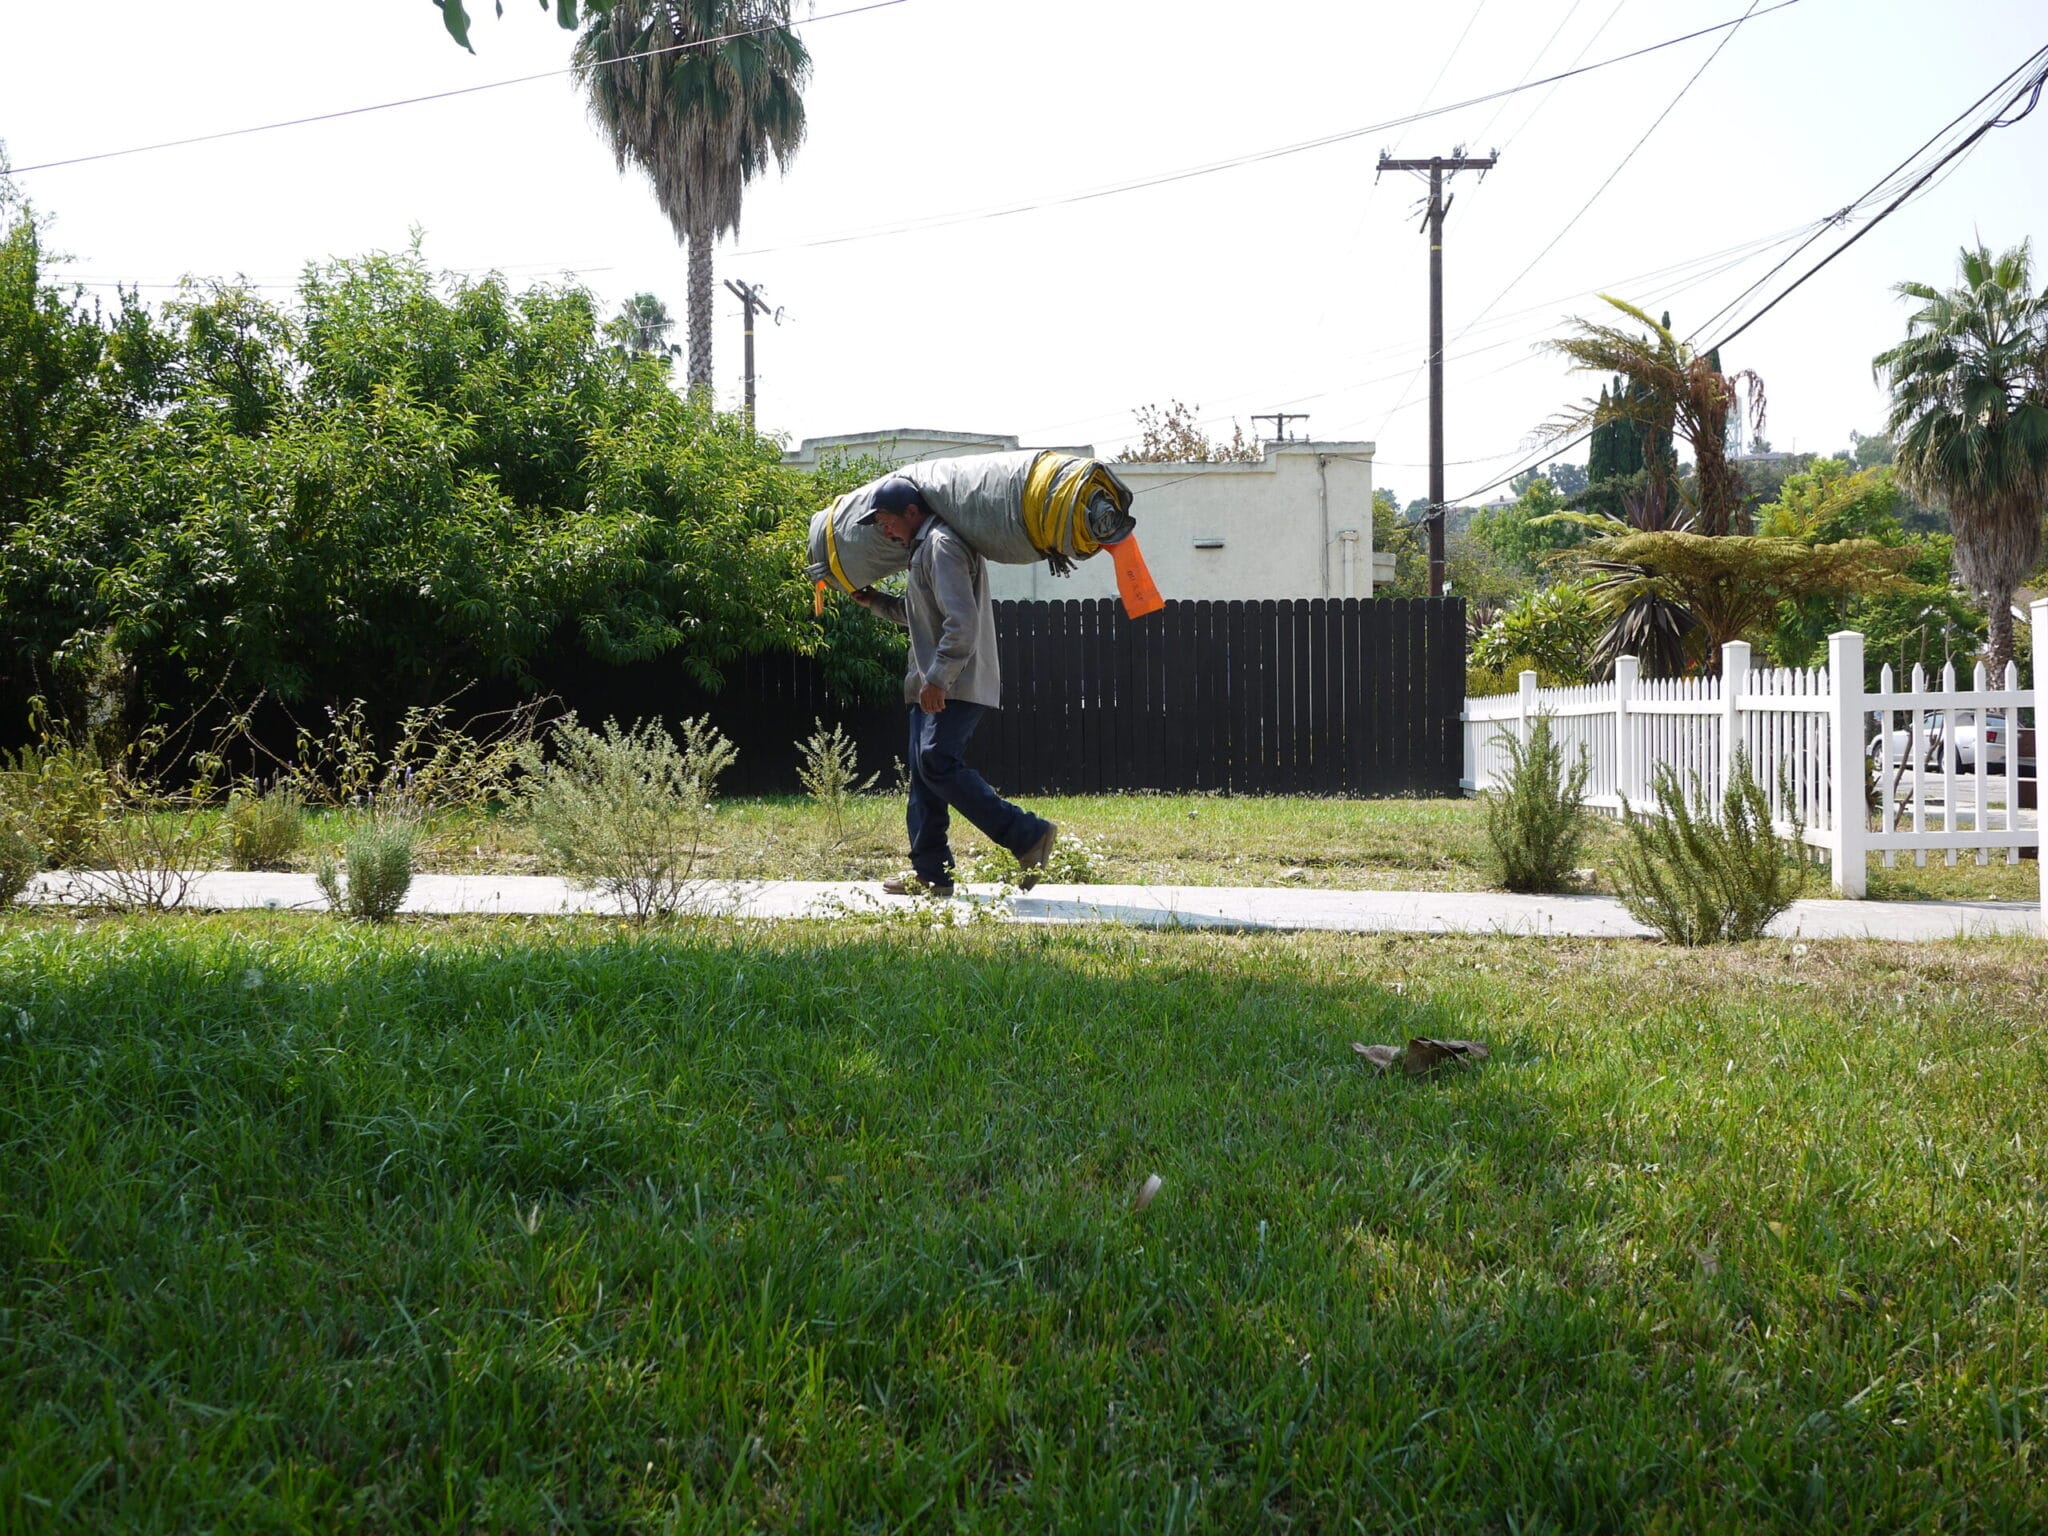
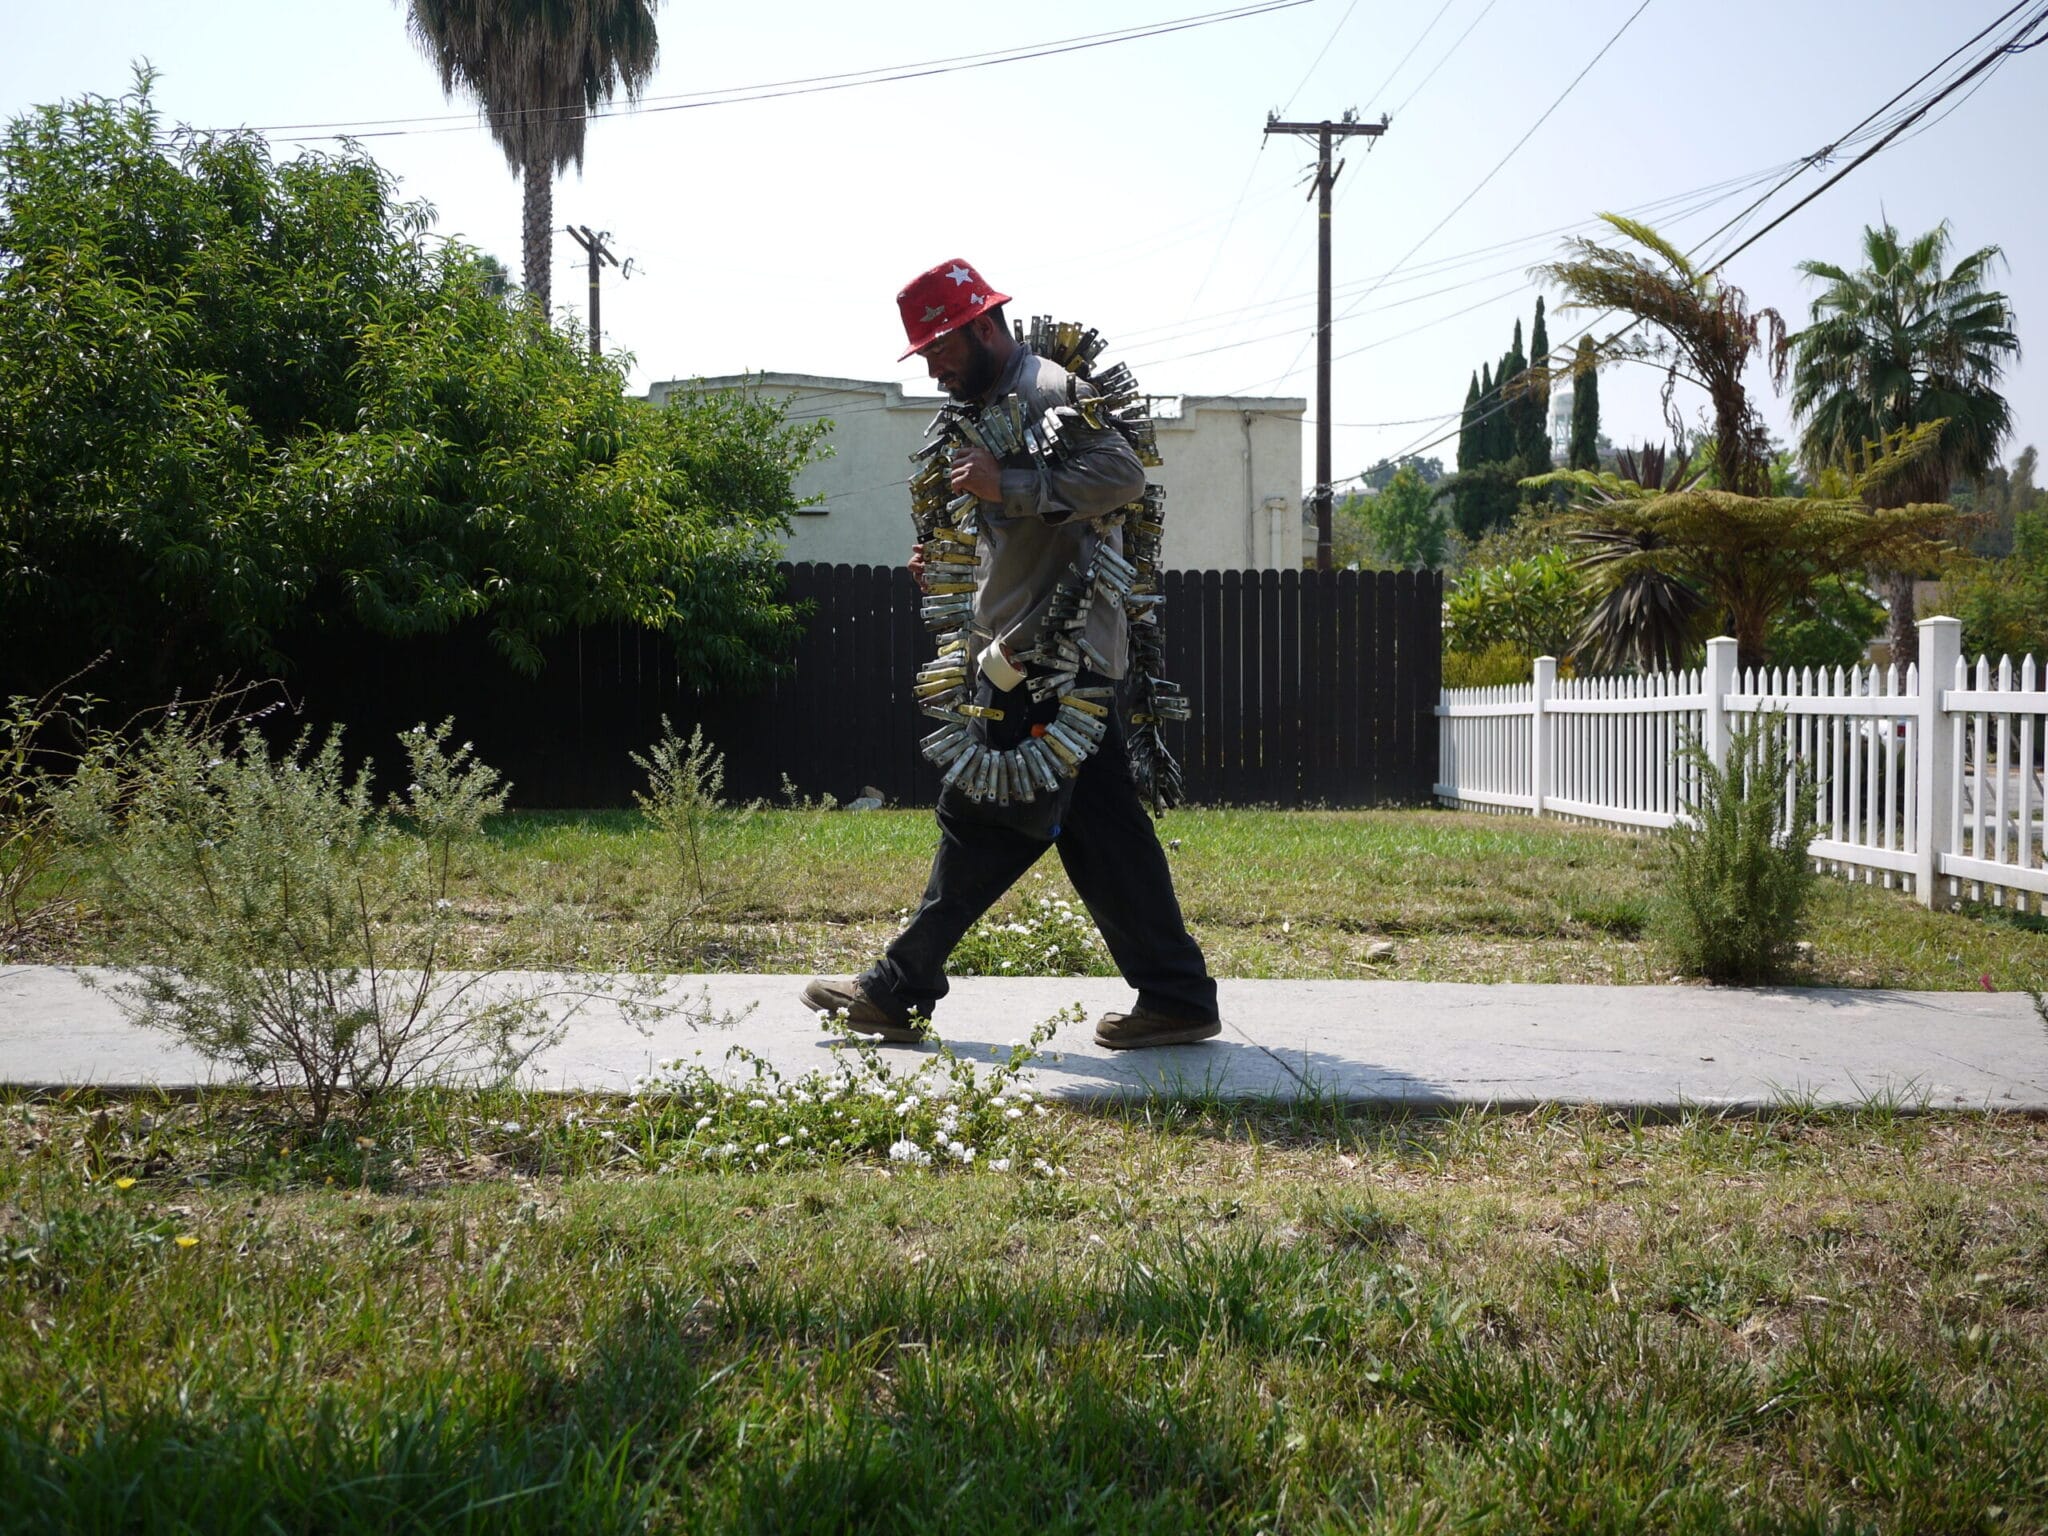
Now comes the transport of all the materials to the house. This includes the tenting covering, the super strong clips that hold the seams together, and long tubes filled with sand that will hold down the edges at the ground to properly seal the tent up.
Once again up the ladders go the crew with the tenting material. It’s amazing how strong and agile these professionals are. They are literally balancing the heavy tenting material on one shoulder and climbing up the ladder – then walking on the inline of the roof. This is all done while accommodating the weight of the tenting material. On the day that I was observing the tenting work, the temperature here in South Pasadena hit 96 degrees.
Concurrently, another group of workers is placing the heavy sand weights around the perimeter of the home on the ground.
The final step in getting the tenting all around the house is to unroll and unfold the massive sheets of tenting material. This is then spread evenly in a single layer over the entirety of the house. Below is a short time lapse of this process.
The last step is to seal up the tenting material by clipping is all together and sealing up the bottom with the heavy sand bags.
Once all of that is done the foreman checks the work and the poison is ready to be applied inside the tent.
This is the point at which I left the property for my own safety.
I will be returning in a few days to observe the process of removing the tent and airing out the property.
If you need any help with the complete real estate buying and selling process feel free to give me a call or text or email. It would be my pleasure to help you out.
Your Real Estate Friend,
Derek